Water Valve Installation Services Overview
Visitors will learn about how local contractors install water valves and how to compare service options in their area.
- - Residential homeowners seeking reliable water valve installation services for their homes.
- - Commercial property managers needing professional water valve setup for buildings or facilities.
- - Contractors looking to connect with local specialists for water valve installation projects.
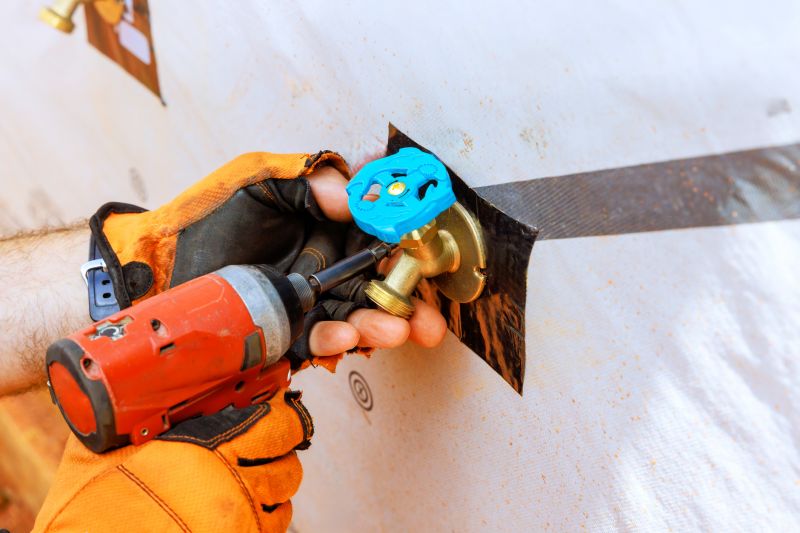
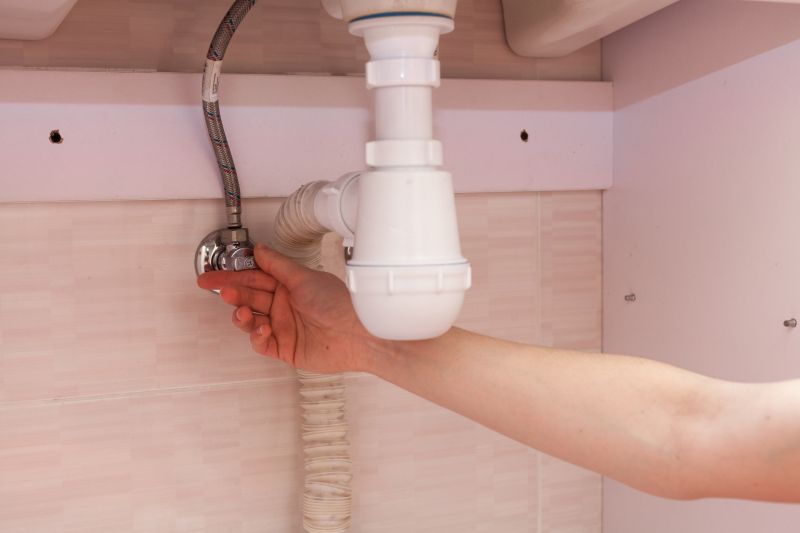
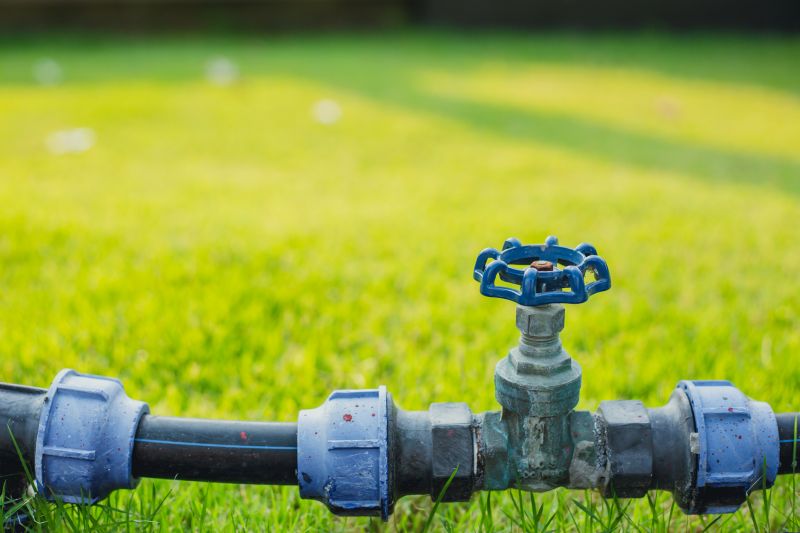
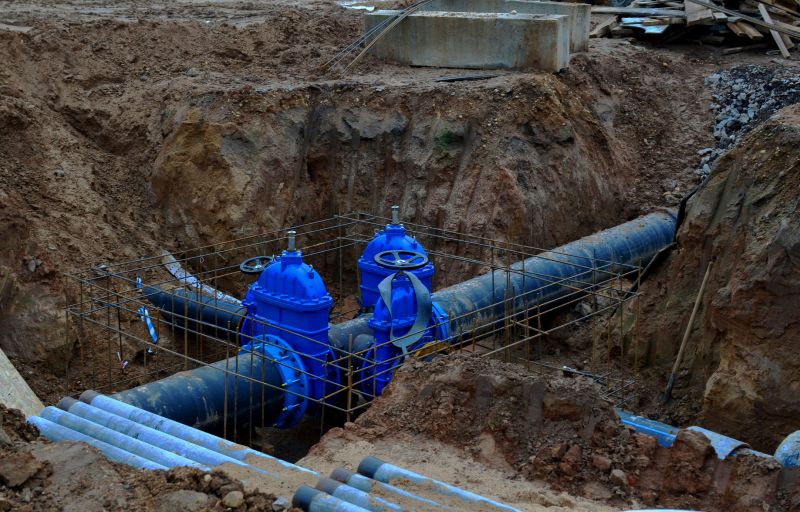
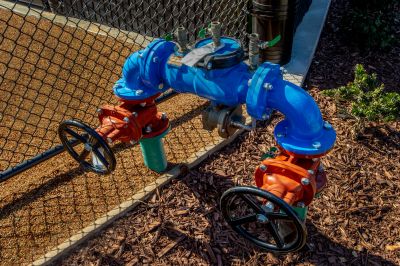
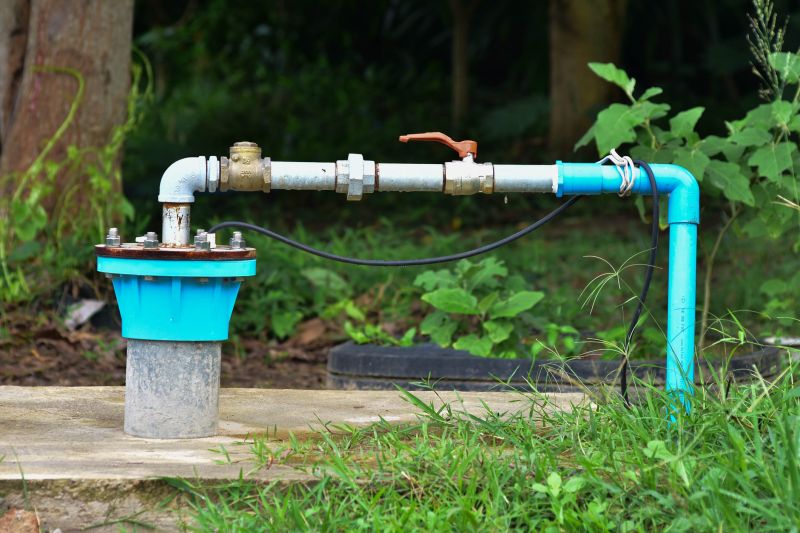
Water valve installation services are essential for maintaining proper water flow within residential and commercial properties. When property owners need new valves installed, replaced, or upgraded, they often seek assistance from experienced local contractors who specialize in plumbing and water systems. These professionals handle a variety of tasks, including installing shut-off valves, pressure regulators, or repair valves to ensure the water supply functions safely and efficiently. Property owners can expect knowledgeable service providers to assess their needs, select appropriate valve types, and perform installations that meet standard plumbing practices.
Connecting with local service providers for water valve installation offers a practical way to address plumbing upgrades or repairs. Whether dealing with a leaking valve, outdated fixtures, or planning a plumbing renovation, property owners can find local contractors equipped to handle these jobs. These professionals typically work on a range of projects, providing guidance on suitable valve options and ensuring installations are completed correctly. By comparing local options, property owners can choose service providers who are experienced in handling water valve work tailored to their specific property requirements.
This guide provides helpful information to compare and understand water valve installation services offered by local contractors. It aims to assist in identifying the basics of the project and selecting qualified service providers in the area. By reviewing this material, visitors can better prepare to connect with local pros for their water valve needs.